The decisions with the greatest effect on cost and function are often made long before the finishes arrive. Layout, utilities, lighting, storage, and structural needs should be discussed while changes are still manageable.
💠 PRO TIP
Confirm how every room will be used before finalizing outlet, lighting, and low-voltage locations.
A pool is not an isolated backyard decision. Excavation access, elevations, drainage, utilities, equipment placement, hardscape, and the home’s construction schedule all need to work together.
💠 PRO TIP
Coordinate pool access before walls, landscaping, or neighboring construction make excavation difficult.
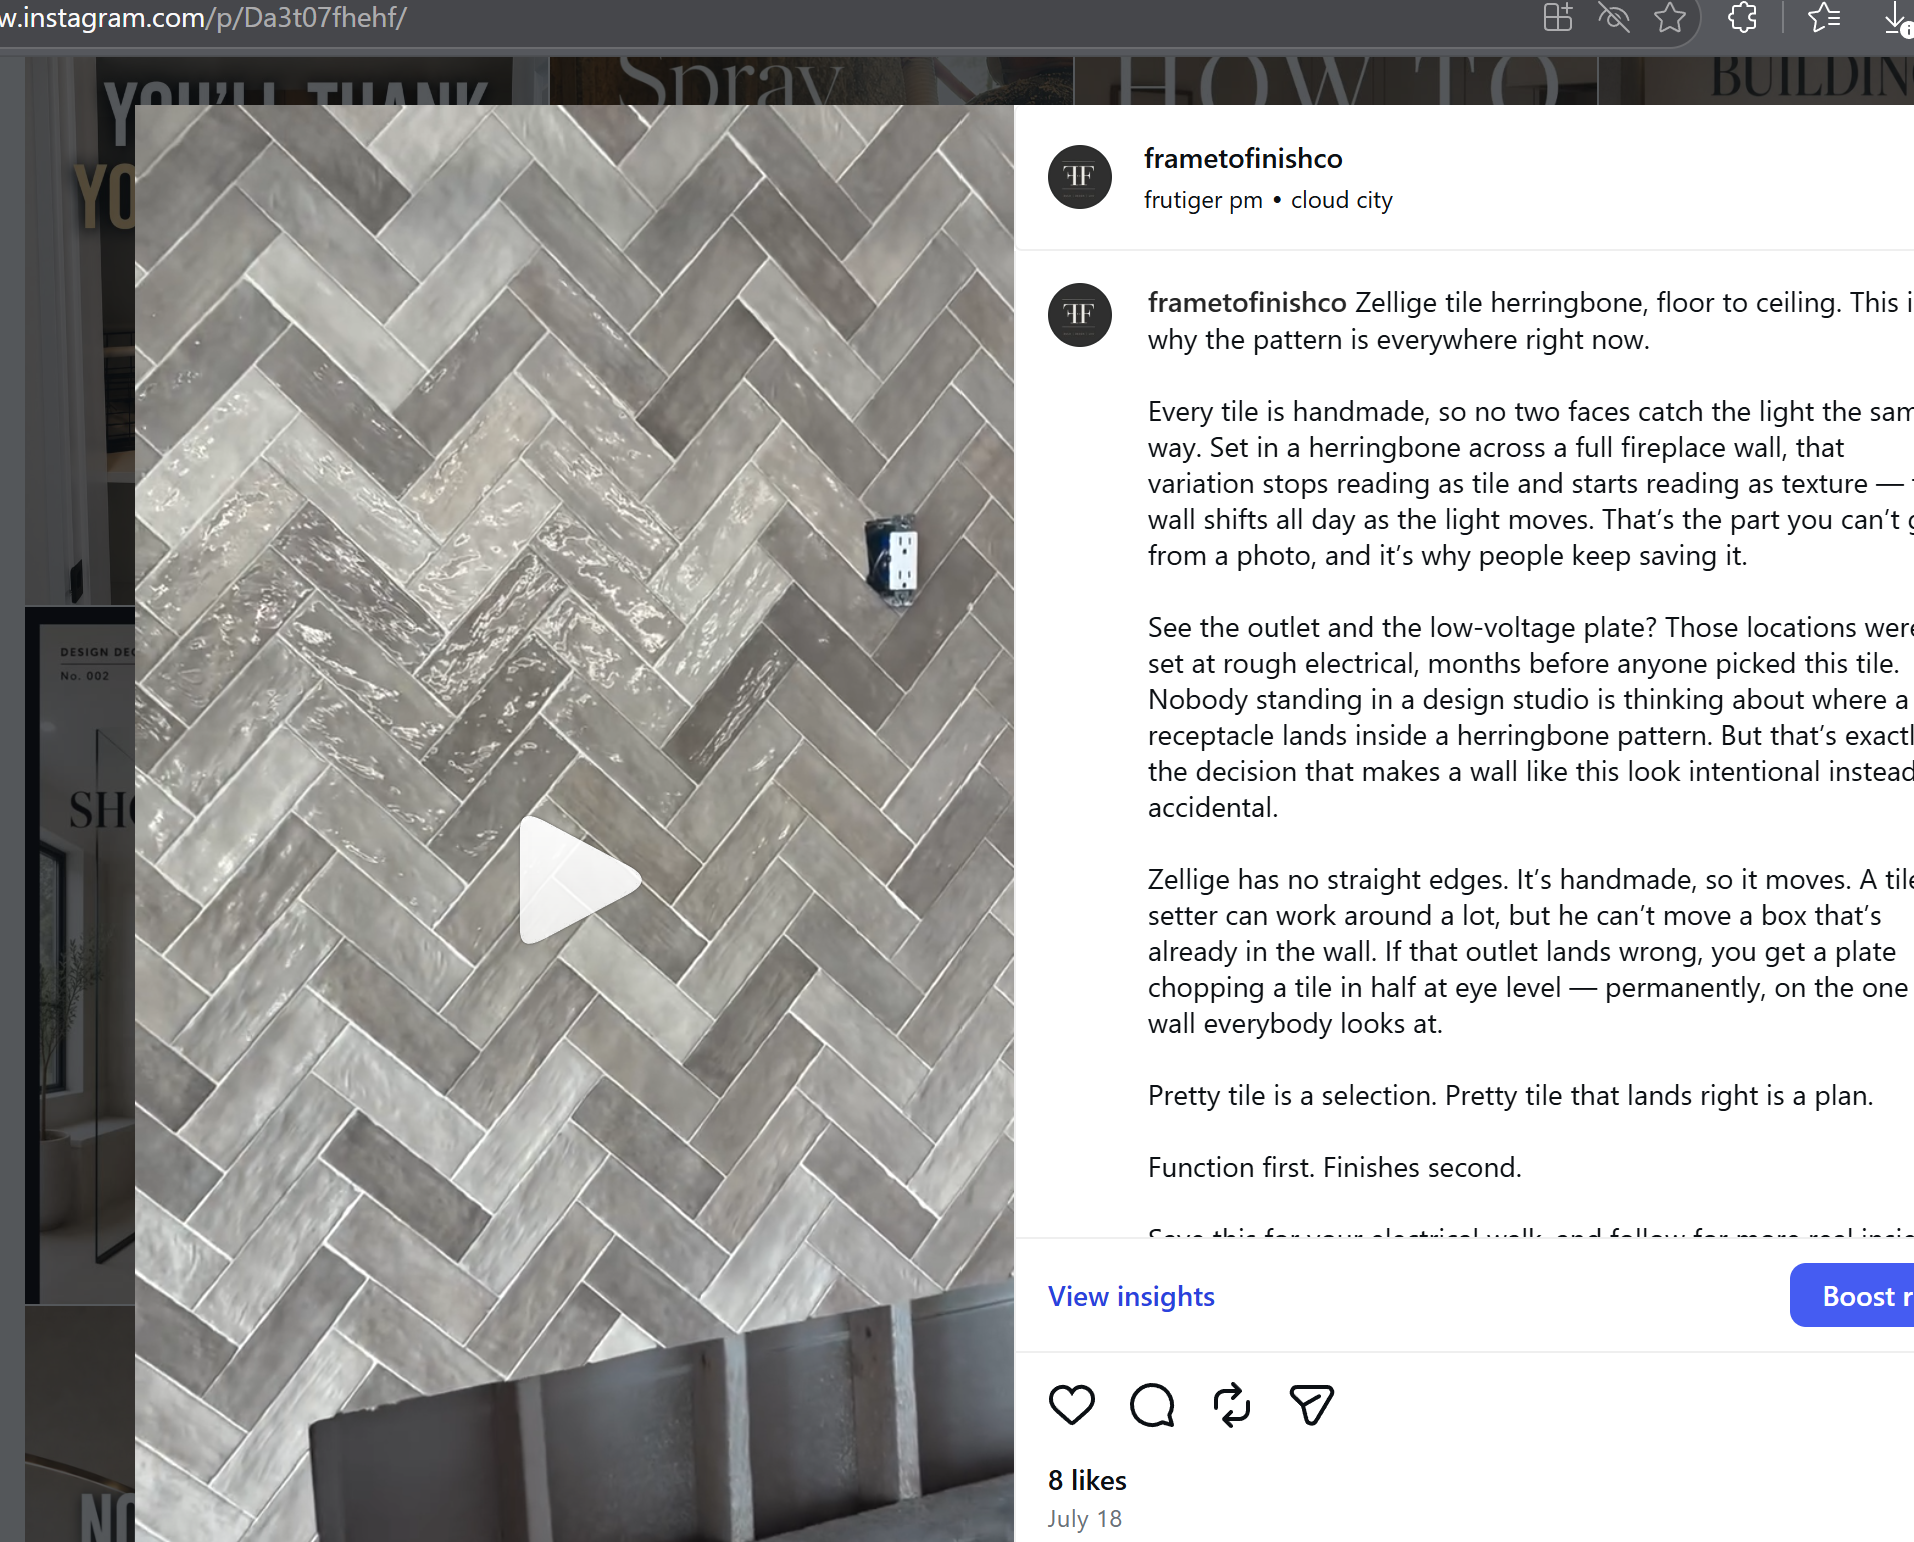
Handmade Zellige brings movement and variation, but the electrical locations and herringbone layout must be coordinated before installation so the focal wall reads as intentional rather than interrupted.
💠 PRO TIP
Overlay outlets, low-voltage plates, sconces, and the firebox on the proposed pattern before tile begins.
Before insulation and drywall cover the mechanical work, create a visual record of every wall. Those photos become a practical map for the life of the home.
💠 PRO TIP
Photograph every wall straight on, then capture closer views of plumbing, wiring, ducts, and blocking.
Concrete day is a visible milestone, but its success depends on the quieter work completed beforehand: engineering, grading, forms, embeds, utilities, access, inspections, and weather planning.
💠 PRO TIP
Confirm every required inspection and embedded item before concrete is scheduled.
Quality is easiest to understand when you watch how the ordinary work is handled. Site organization, preparation, protection, tolerances, and follow-through reveal the standards behind the finished home.
💠 PRO TIP
Look beyond the visible finish and ask how the surface was prepared before the next trade arrived.
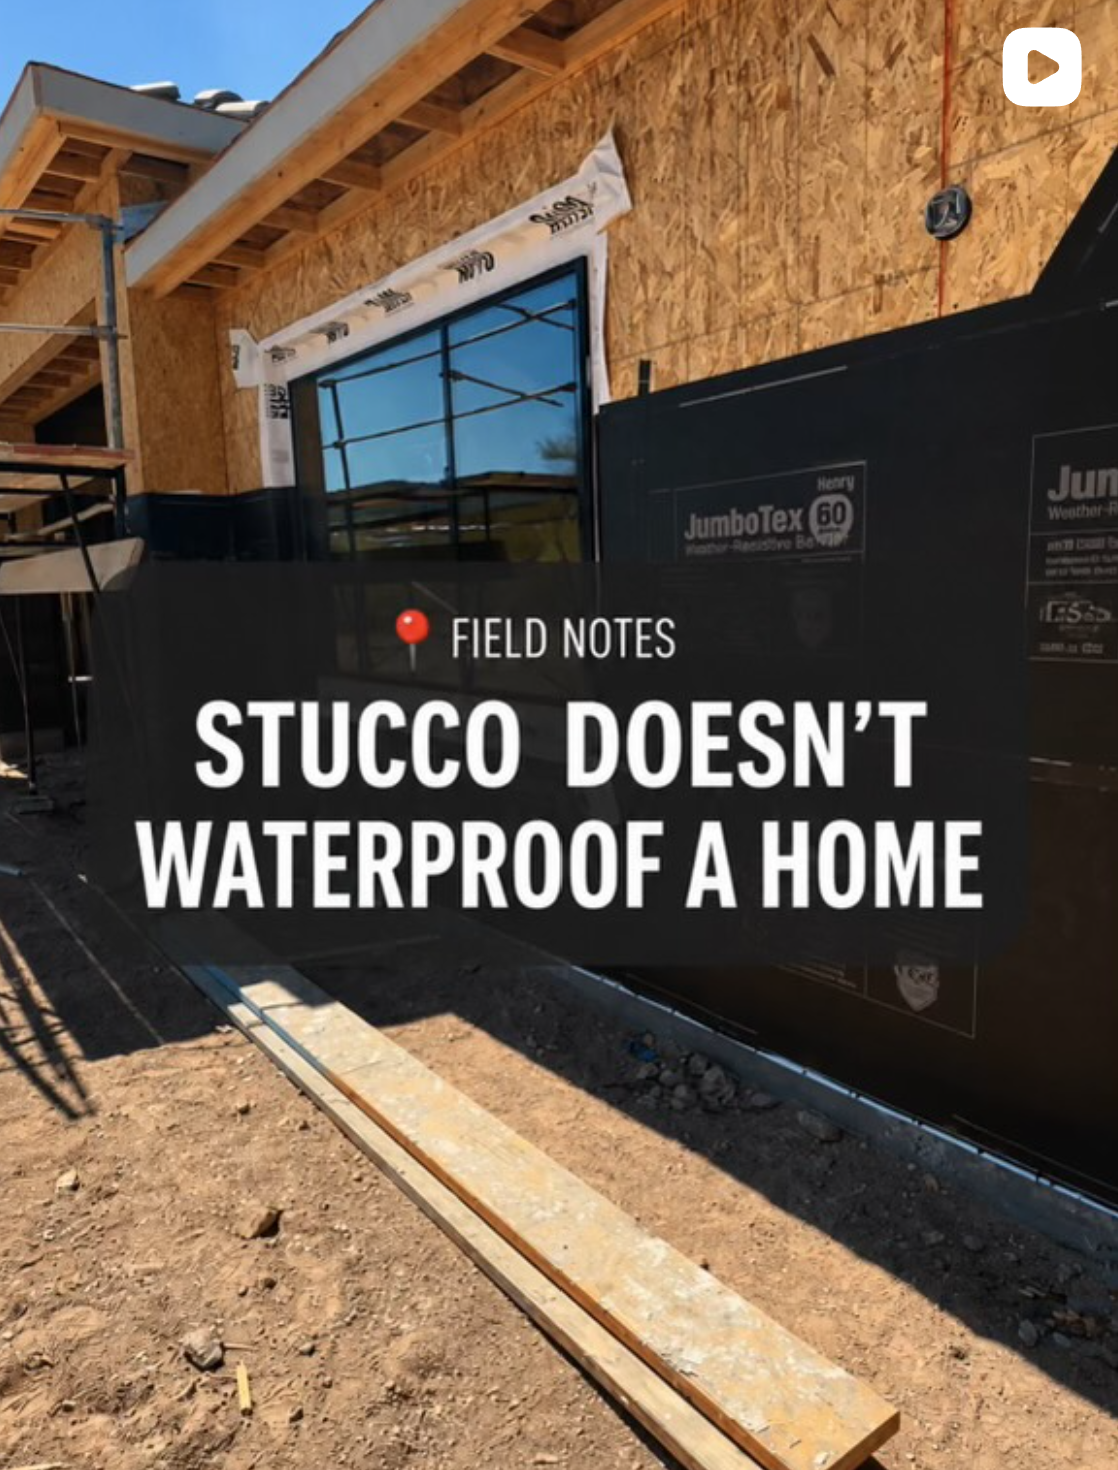
Stucco is the finish. The real drainage plane is the weather-resistive barrier behind it, coordinated with flashing, lath, and a weep screed so water can move safely down and out.
💠 PRO TIP
Confirm the weather-resistive barrier is lapped shingle-style and properly integrated with flashing around every opening.
Insulating at the roofline can bring the attic into the conditioned or semi-conditioned envelope, reducing extreme attic temperatures and helping protect ducts and mechanical equipment from the harshest heat. The right assembly must still be designed for the climate and the home.
💠 PRO TIP
Discuss the insulation strategy during design so ventilation, HVAC, roof assemblies, and energy requirements are coordinated.
Loose-fill cellulose and batt insulation solve different installation problems. The material choice matters, but so do air sealing, coverage, and a careful look before the walls close.
💠 PRO TIP
Ask which wall cavities receive batts or blown-in material, and why that method fits the assembly. Confirm coverage around wiring, pipes, boxes, and tight corners before drywall.
A tile can be beautiful and still feel wrong when the layout was never planned. The installer should understand the focal point, centerlines, transitions, and where cut pieces are expected before setting begins.
💠 PRO TIP
Review the starting point and dry layout in the actual room, not only on a sample board.
A finish may look interesting up close, but the full room reveals whether its scale, repetition, and placement support the architecture. Great feature walls are planned for both views.
💠 PRO TIP
Review material samples from across the room as well as at arm’s length.
The joint is part of the design. Width and color can let a tile surface read as one quiet field, emphasize each piece, or add a softer balance between the two.
💠 PRO TIP
Look at the tile and grout together at full scale. Confirm joint width with the installer based on the tile's size variation and product instructions, then approve a sample under the room's light.
Hardware is the jewelry of the kitchen, but proportion matters as much as finish. Use drawer width as a starting point, then test the pull on the actual door or drawer before ordering the full set.
💠 PRO TIP
Measure a replacement pull center to center, from screw hole to screw hole, rather than by its overall length. Order one sample to check its weight, grip, projection, and finish before buying forty.
A full slab tells you what a small sample cannot: movement, scale, variation, and where the strongest veining may land. For a major island or feature surface, the exact slab matters.
💠 PRO TIP
View the full slab upright and from several distances before approving it.
A showroom visit can feel exciting, but it is also where expectations meet availability, budget, maintenance, and scale. The goal is not simply to find the prettiest surface, it is to find the right one for the room and the way it will be used.
💠 PRO TIP
Bring cabinet, flooring, paint, and hardware samples so undertones can be judged together.
Builders often default to a light ceiling because it reflects light, keeps the home consistent, simplifies production and touch-ups, and preserves a sense of height. A different ceiling color can be beautiful when it is part of the design strategy rather than a last-minute decision.
💠 PRO TIP
Consider ceiling height, natural light, wall color, and the room’s desired mood together.
Waterline tile, interior finish, coping, deck material, grout, and surrounding architecture all change how the water color and finished pool will read. Choosing each item separately is where otherwise beautiful selections begin to disconnect.
💠 PRO TIP
Compare every finish together in outdoor light and view samples both wet and dry.
Large-format tile is moving beyond floors and showers into full-height architectural surfaces. Fewer grout joints create a calmer, more continuous look, but the scale also makes substrate preparation, handling, layout, and edge details more important.
💠 PRO TIP
Confirm the wall or floor is flat enough for the selected format before installation begins.
Primer helps prepare a surface for paint, but the right product and preparation depend on the substrate, its condition, and the topcoat. A beautiful color cannot correct a poorly prepared surface.
💠 PRO TIP
Ask what surface is being primed, what preparation is needed, and which primer the painter specifies for that condition. Check repairs and coverage before the finish coats.
The same color can feel different in a matte, eggshell, satin, or gloss finish. Sheen affects reflected light, how texture reads, and how the surface is maintained.
💠 PRO TIP
Sample color and sheen together on the actual surface. Review lighting, expected wear, and the manufacturer's cleaning guidance before specifying the finish for each room.
Seeing a broad display at a builder show can put the number of possible home selections into perspective. A clear decision framework makes the range easier to navigate.
💠 PRO TIP
Start with the room's use, a budget range, and the decisions already made. Bring only viable options forward for a side-by-side comparison, then confirm availability and timing.
Optional analytics help Frame to Finish understand which guidance is useful and measure advertising. Nothing beyond essential site functions runs until you choose.